Noise Module
This is where we drop the Giga-Drip
-
Noise Modulelets us choose different noise textures(2 textures as of v1.0) -
We can use those textures to affect how the trail shape dissolves out.
-
This lets us get soo many different shapes and feels even using the same main shape texture.
-
Gives us the infinite possiblities.
Lets learn it!
Controls;
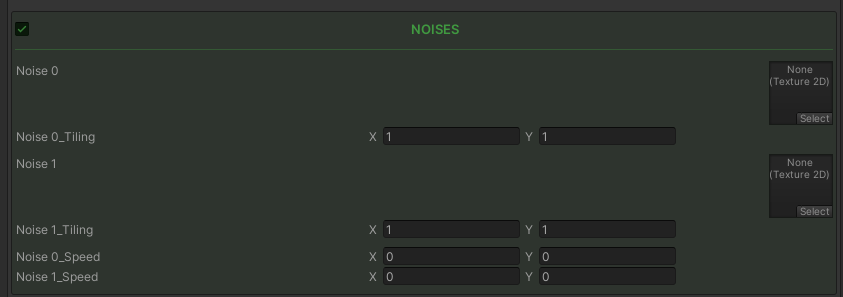
Let's assume a baseline to build upon
I'll use this exact set-up to add the noise onto
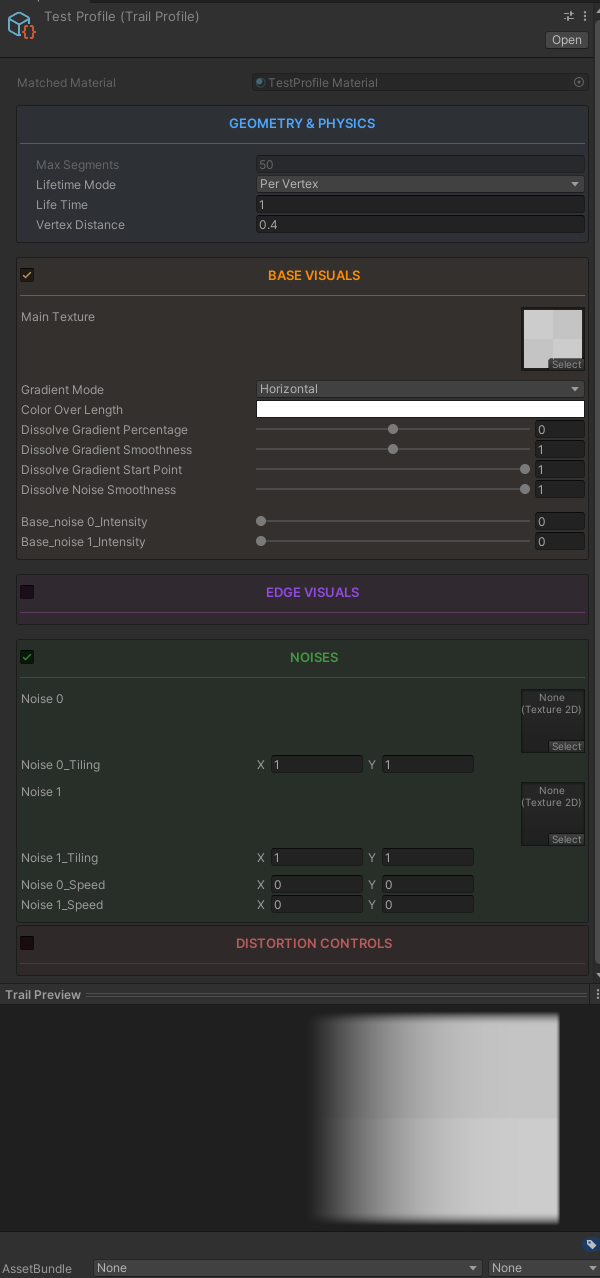
Just copy if you want to follow along; I'll wait!
Textures
-
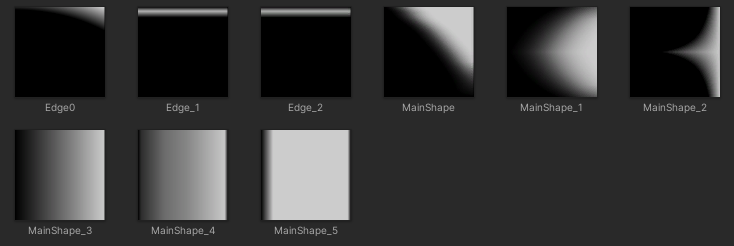
We used shape textures so far
-
Here we want tiled noise textures.(by noise texture i don't mean it has to be noise; it can be a perfectly predictable texture that also tiles.)
Use tiled noise textures

Don't use shape textures
Okay, I click the Noise 0 property and add a noise texture
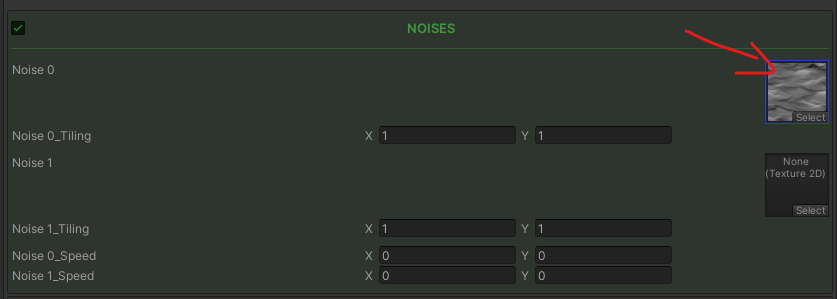
but nothing happened???
Because noises are Shared property between Modules
We decide Noise set-up here but don't know if the module is using it.
Here, check the Base Visuals;
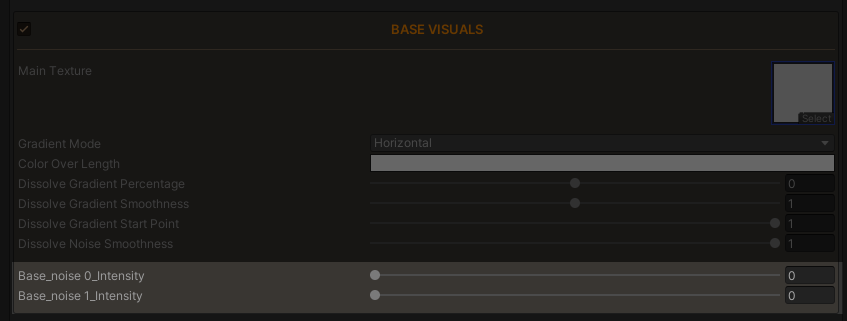
The last two values decide which noise are we getting affected by
AND how much.
Pull that Noise0 up to 1; 
NICE!
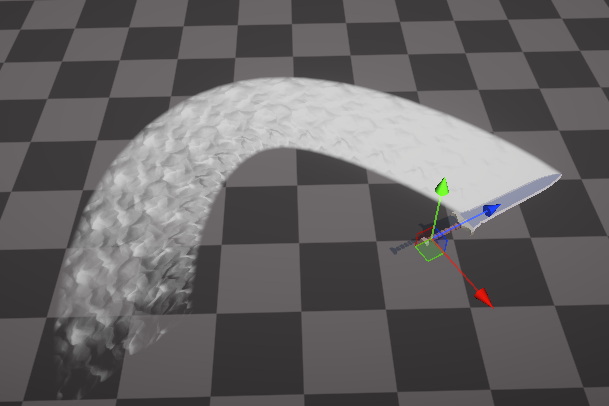
Well it works... But it doesn't look or feel good yet.
Lets improve it!!
Pro Tip

Usually for slashes, you want the noise to also feel like it's affected by the swords momentum.
We actually want to stretch the Noise textures so that it feels more like a particle affected by momentum/movement
rather than a static texture on an object.

Now;
Already feels better!
But there is much more we can do ^^
Pro Tip+
Well now it feels more like momentum but it's still just staying in place.
Let's actually move it;

Pull the Noise 0 Speed X and Y on any direction; try it out!
...
Alright I found something I kinda like;

The X value makes the noise follow the sword, but also the Y value adds the feeling of some angular momentum.
But now this makes me wanna play with the Dissolve Gradient values we learned earlier so it actually looks good.
Now with these dissolve settings(+ some color work); I think it's so much better
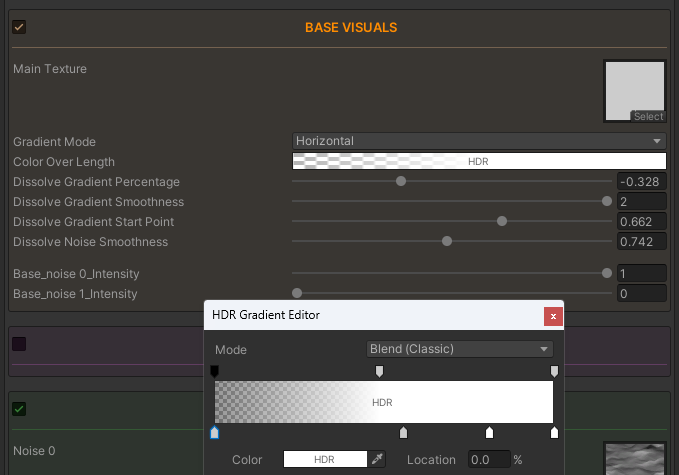
Notice that;
-
We hid the ugly seam at the start of the trail.
-
We made the dissolve much smoother so a few little parts just stay longer giving an ethereal, soft smoke, lightweight particle feel.
-
Pulled gradient percentage back so it lives a bit more(Counteracting the new smoothness)
-
Start point down to 0.65 so that we start seeing texture as soon as the trail is born.
-
Pulled noise smoothness down so it feels more stylized
Where is the infinite possibilities tho?
Glad you asked!
Exact same set-up with same textures; now I'll just play with some float numbers and you can see the results below;
No your browser isn't blowing up; the replay moment of videos feel like a freeze, it's not. It's just the video restarting.
Cool but this doesn't feel like "infinite possibilities"
Okay okay...We didn't even start playing with;
- Color
- Gradient Modes
- Lifetime Modes
- Shape Textures
- Different Noise Textures etc.
But I guess it's time to bring out the big guns!! Let's see how to do Noise Layering!
Noise Layering
So far we've used the Noise0 Input.
But all the same properties exist for Noise1 as well.
Also the modules have Noise1 Intensity so...
Let's try and see what happens when we just layer them
Example of 2 noises layered;
Wait what's that?
It's like we see a dynamic noise that changes;
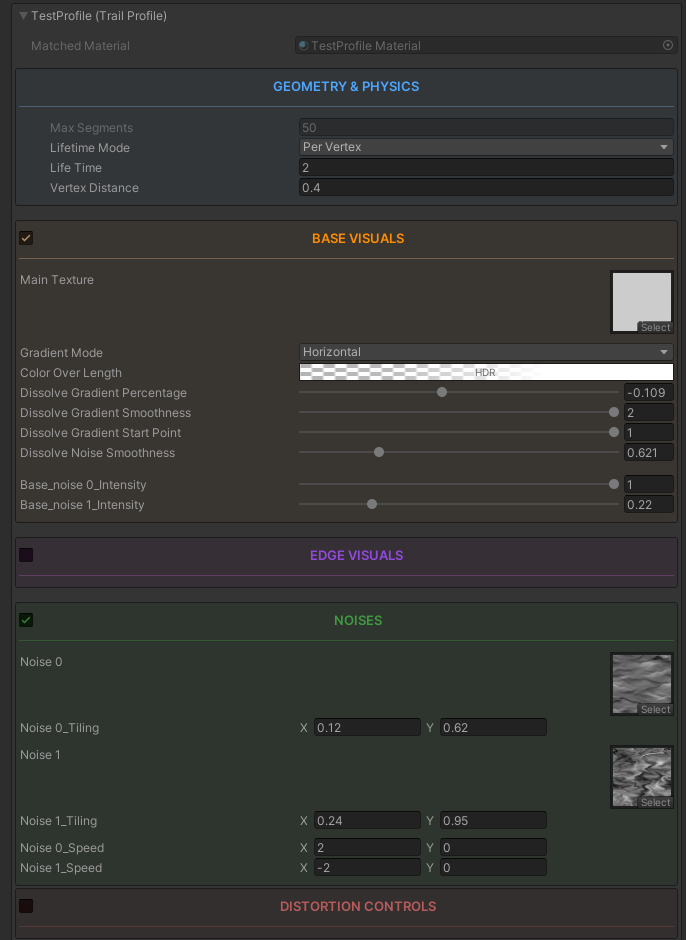
Good Job!
Alright, I think we can always go much deeper into tips and different combinations.
But I think we learned the working principles and I'll leave the experimentation to you for now.
Check the Trails folder to see what different combinations I used for different effects.